Overview
You can add a snippet that enables end-users to attach several files to a form.
The FileUpload snippet enables users to:
- Attach up to 10 files at once, but there is no limit to the total number of files attached to a form.
- View attached files.
- Delete attached files.
Functionality
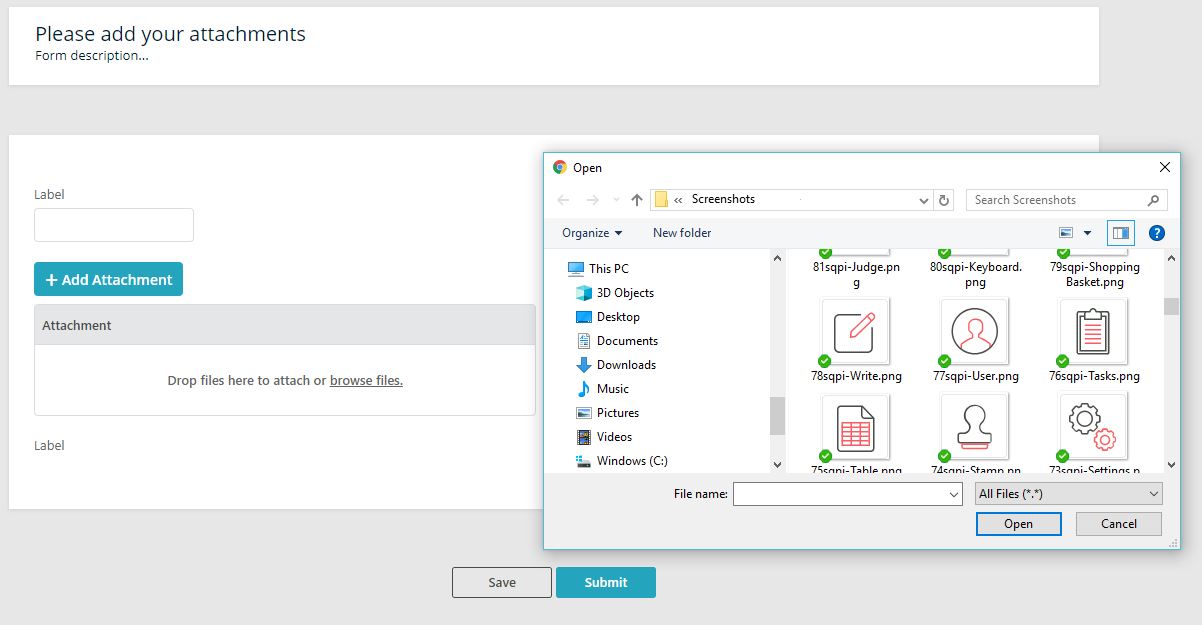
To add attachments, users can drag files directly to the attachment area on the form, or select files from File Explorer.
| Sample form | Drag to attach | Select from File Explorer |
|---|---|---|
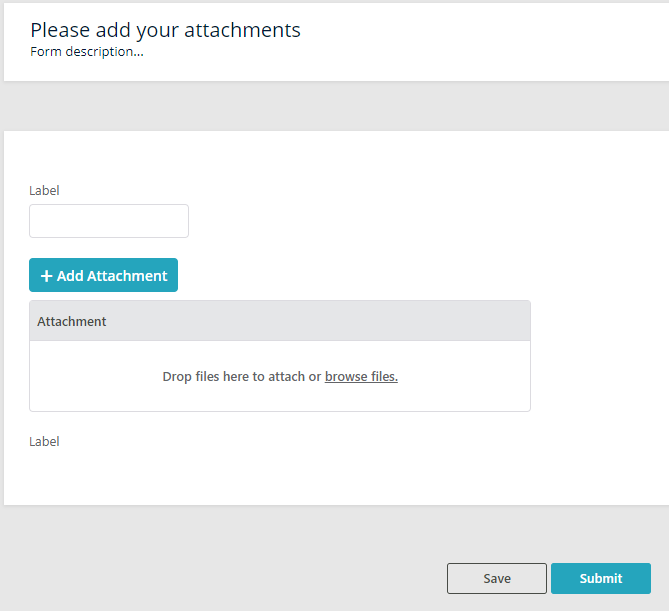 | 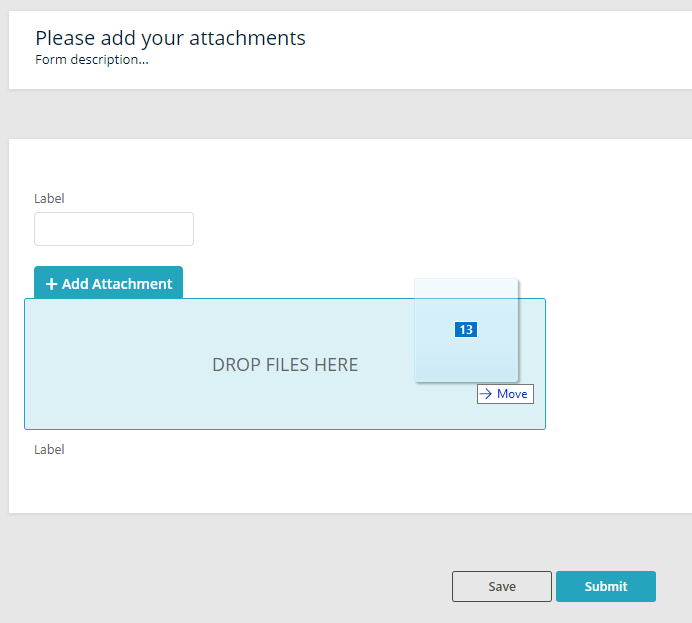 |  |
Parameters
| Parameter | Description | Default value |
|---|---|---|
| MaxFileSize | Determines the maximum size of an attachment. Location: HTML markup | 60 MB |
| AllowedFileExtensions | Determines the types of files that can be attached. The markup should include only file extensions that are allowed in the system and have been configured in the MimeTypes.config file.Location: HTML markup | PDF Note: You can add any of the supported extension values. Separate multiple values with a comma. |
| MaxFileDropLimit | Determines the amount of files that can be uploaded at once. Location: JavaScript code | 10 |
All of the parameters are configurable.
Limitations
- You can add new files while a previous batch is uploading, but not during saving.
Adding the FileUpload snippet to a form
The FileUpload snippet includes CSS properties, JavaScript code, and the attachments grid HTML markup.
After you add the snippet to the form, you need to restructure the code to follow this order:![]()
Procedure
- Open a form.
- Define a data model in the form:
- Add a new table, and name it Attachments.
- Add a field to the table:
- Name: Attachment
- Type: Attachment
- Click Finish, and then OK.
- To insert the FileUpload JavaScript snippet, make sure that you are on the Source tab.
- Under
<%@Control %>, type<script type="text/javascript"> </script>. - Point to the space between tags, and then click {...} Insert Snippets.
- Expand the Controls node, and then select FileUpload > Upload multiple files using batch grid.
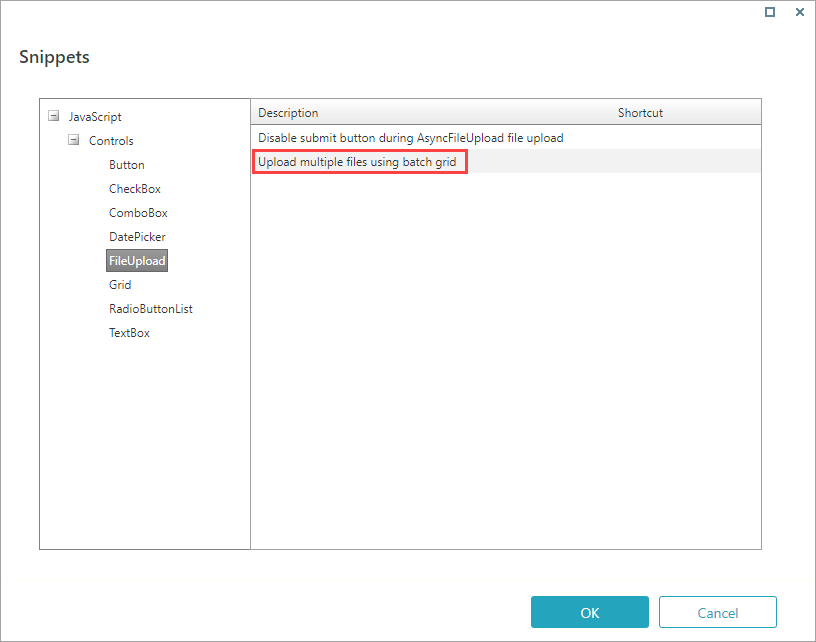
- Click OK.
- Under
- The code should be structured as follows:
- Delete the section from "<%- - Following snippet..." to "3. Add the following markup to the form:" (including).
- Delete --%> after </asp:UpdatePanel>
- Move the CSS section — from <style type="text/CSS"> to </style> — to the top of the code, before <script type="text/javascript">.
- Move the HTML markup — from "<label for="batchGridFileSelector"..." to "</asp:UpdatePanel>" — to the bottom of the code at the required location on the form.
- If required, edit the
AllowedFileExtensionsparameter. - Validate the activity to make sure that you don't have any errors.

The resulting grid should look like this on the Design tab of the UX Studio: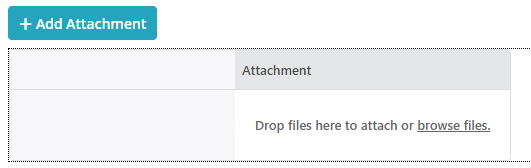
NOTE
FileUpload is available as an out-of-the-box snippet starting with V8.8. To enable multiple-file upload to earlier V8.x systems, download this file and follow the instructions.
 | Want to learn by doing? Check out this hands-on exercise. Note that only internal users can access the link. |
