Define Message Recipients
Last Modified on 08/20/2018 5:07 am EDT
v8.5 and earlier
Overview
You can define recipients, conditions for recipients, queues, and distribution lists for a message.
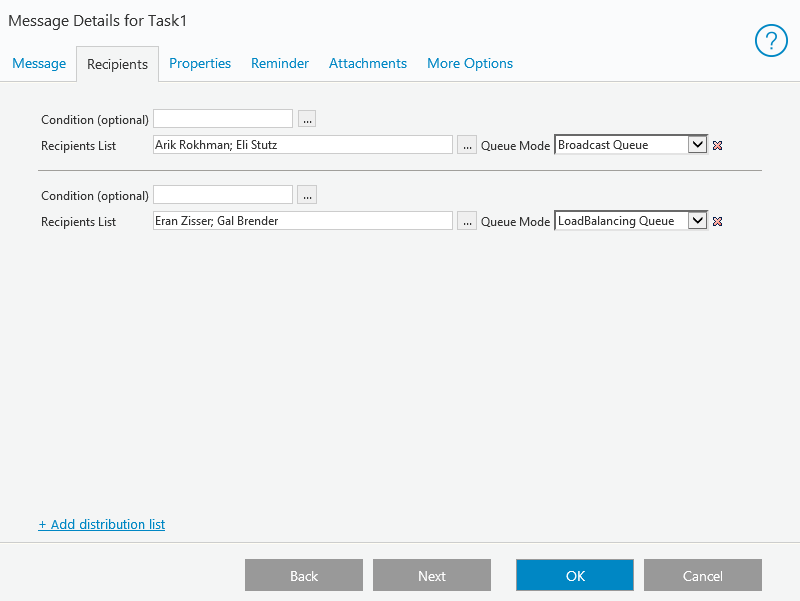
Message Recipient Options
| Message Section | Action | Required/Optional |
|---|
| Condition | Click the three dots next to the condition text box to define a condition for which users the message is sent to.
If the result of the condition is true, the message is sent to the recipients. | Optional |
| Recipients List | - Click the three dots next to the recipients list text box.
- Use the Select Type drop-down menu to filter the recipients list.
- Select at least one recipient for the message.
- Define the recipient's Role and Hierarchy.
- Direct: Users assigned to the selected role in the current department.
- X2: Users assigned to the selected role, located one level up in the organization.
- X3: Users assigned to the selected role, located two levels up in the organization.
- Top: Users assigned to the selected role, at the top of the organizational structure.
| Required |
| Queue Mode | This option is for messages that are part of a task, and if you selected more than one recipient.
Select a queue mode to distribute the message.- Default: The task is sent to all recipients and any recipient can complete the task.
- Auto Fetch Current User Queue: If one of the users in the queue is the user that completed the previous form, the task is automatically fetched to that user..
- Load Balancing Queue: The task is sent to the recipient with the least assigned tasks.
- Broadcast Queue: The task is sent to all recipients and only the recipient that fetches the task can complete the task.
IMPORTANT: If you select a queue option, you can only select one distribution list. | Optional |
| Add Distribution List | Select this check box to add an additional distribution list. | Optional |
v8.6 and later
Overview
You can define message recipients by user, group, external user, process role, or employee role.
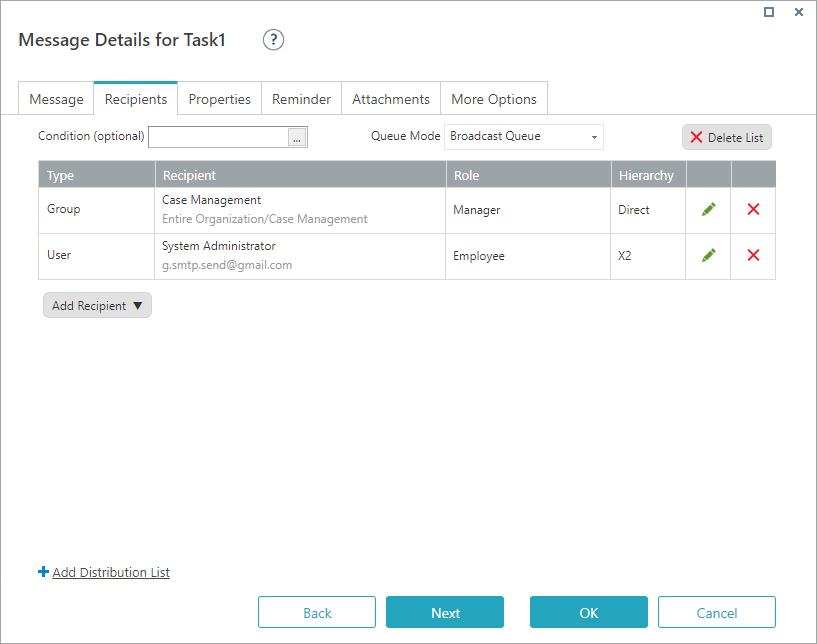
Recipient settings
| Setting | Description |
|---|
| Condition | You can set a business rule to determine conditions for when to send the message to the specified recipients. |
| Add Recipient | Adds a new row to the distribution list. You can select the following types of recipients:- Group: List of the groups defined for the organization.
- Group Expression: Create an expression to define the required group, or multiple groups.
- User: List of the users registered in the system.
- User Expression: Create an expression to define the required user, or multiple users.
- External User: Enter an email address, or multiple email addresses separated by commas. You can also use an expression that returns the required email addresses.
- Process Role: Set recipients by their role in the process: creator of the message or task, or recipient of the message or task.
- Employee Role: List of the employee roles defined in the system.
|
| Recipient | Displays a list of options depending on the type of recipient that you added.
You can also enter an expression. |
| Role | Displays the employee roles defined in the system. |
| Hierarchy | Displays a list of hierarchy options.- Direct (default): Send message to the selected role.
- X2: Send message to a recipient located one level up in the organization.
- X3: Send message to a recipient located two levels up in the organization.
- Top: Send message to a recipient located at the top of the organizational structure.
|
| Queue Mode | This field is available only for task messages.- Default: The task is sent to all recipients and any recipient can complete the task.
- Auto Fetch Current User Queue: If one of the users in the queue is the user that completed the previous form, the task is automatically fetched to that user.
- Load Balancing Queue: The task is sent to the recipient with the least assigned tasks.
- Broadcast Queue: The task is sent to all recipients and only the recipient that fetches the task can complete the task.
|
| Add Distribution List | Adds an additional distribution list. IMPORTANT: If you select a queue mode, keep only one distribution list. |
Define recipients
- On the Recipients tab, to insert a recipient, click Add Recipient, and then select a recipient type.
- Define the recipient according to the recipient type you selected.
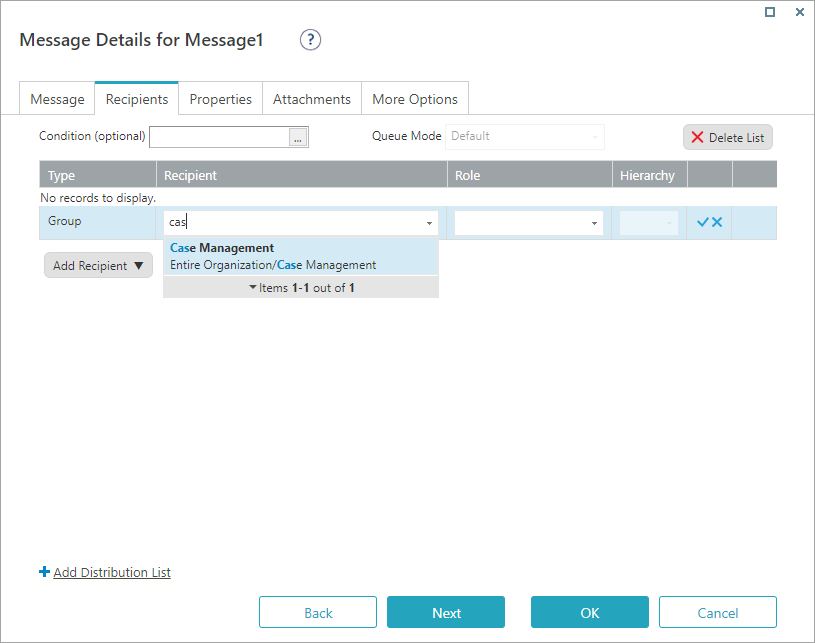
- Assign a role for the recipient or recipients that you selected.
- Assign the required hierarchy level.
- To confirm the recipient settings, click the insert button (
 ).
).
The recipient row is added. You can add additional recipients or start a new distribution list.


 ).
).